Here's my third and final project using product from Our Daily Bread Designs July 2018 Release. The product in this release is amazing! I will, without a doubt, reach for them over and over again! Be sure to check out the entire July 2018 Release
here.
And lets talk paper for a second! Have you seen the paper?! The paper I used in my projects is not part of the July Release but I would be amiss if I did not give it a shout out! I have always been a huge fan of ODBD Pattern Paper! I mean, what's not to love? It is absolutely gorgeous! It makes creating gorgeous projects effortless because it does all the work for you! I mean look at these cards!
I'm working through some technical difficulties so no video tutorial but, I promise to be up and running (consistently) in the video tutorial department real soon! In the meantime, I provide step-by-step instructions
along with the complete supply list so that you can create these gorgeous cards at home.
And now... join me in my craft room and be inspired to transform paper into a little work of art.
Project One
For my first project I used ODBD's Walk by Faith Stamp/Die Duos. Scroll down for the complete list of supplies.
|
|
|
|
|
|
Project One Instructions (scroll down for complete list of supplies)
-
Roses pattern paper layer from the ODBD Blushing Rose 6x6 Paper Pad
- Cut at 5-1/4 x 4 inches
- Distress using Tim Holtz Paper Distresser
- Olive green dots pattern paper layer from ODBD Blushing Rose 6x6 Paper Pad
- Cut 4-1/2 x 3 inches
- Distress using Tim Holtz Paper Distresser
- Affix to roses pattern paper layer using mono adhesive, position 1/4-inch in from the right and centered vertically
- Vintage receipt with roses pattern paper layer from ODBD Blushing Rose 6x6 Paper Pad
- Cut 4 x 3 inches (cut from the top right corner of 6x6 paper)
- Distress using Tim Holtz Paper Distresser
- Set aside
- Very vanilla cardstock doily cut and embossed using Big Shot and largest die from ODBD Fancy Circles Dies
- Affix to back of vintage receipt with roses pattern paper layer using mono adhesive
- Position so that only 1/2-inch is exposed from the front
- Center vertically
- Affix vintage receipt with roses pattern paper with doily layer to the olive green dots layer using mono adhesive
- Position 1/4-inch in from the right and center vertically
- Cut 6-inches of Stampin' Up! Very Vanilla Lace Trim
- Affix to the front of the three layers positioning 1-3/4 inches from the bottom and securing with scotch tape on the back
- Very Vanilla card base from Stampin' Up!
- Cut at 11 x 4-1/4 inches
- Scored at 5-1/2 inches
- Affix all layers assembles above to card base using mono adhesive
- Die cut the word Faith using very vanilla cardstock, Big Shot, and the die from ODBD Walk by Faith Stamp/Die Duos and affix to the front of card using Wendy Vecchi's Perfect Cardstock Adhesive
- Stamp the "HAVE" and "DON'T GIVE UP" from the Walk by Faith Stamp/Die Duos and Wendy Vecchi Blendable Dye Ink in Acorn
- Cut using scissors
- Affix to the front of the card using Stampin' Up! mini dimensionals
- Cut about 36-inches of Stampin' Up! Linen Thread and tie a triple bow
- Affix to the front of the card using a glue dot
- Cut about 3 inches of fun fur and affix on top of the linen thread bow using mono adhesive
- Butterfly is a wooden shape painted with vintage white acrylic paint and embellished with pink pearls. The pink pearls have been in my stash for a while and google wasn't cooperating with helping find them for you. However, Nuvo Crystal Drops in Raspberry Pink will work perfectly.
|
Project Two
For my second project I used ODBD's Hugs Stamp/Die Duos. Scroll down for complete list of supplies.
|
|
|
|
|
|
Project Two Instructions (scroll down for complete list of supplies)
-
Whisper White Thick cardbase from Stampin' Up!
- Cut at 11 x 4-1/4 inches
- Scored at 5-1/2 inches
-
Soft pink roses pattern paper layer from the ODBD Shabby Rose 6x6 Paper Pad
- Cut at 5-1/4 x 4 inches
- Distress using Tim Holtz Paper Distresser
- Affixed to whisper white card base using mono adhesive
- Soft blue vintage pattern paper layer from ODBD Shabby Rose 6x6 Paper Pad
- Cut 4-1/2 x 3 inches
- Use scissors to cut bottom into fish tail (banner shape)
- Distress using Tim Holtz Paper Distresser
- Affix to soft pink pattern paper layer using mono adhesive
- Soft blue vintage pattern paper layer from ODBD Shabby Rose 6x6 Paper Pad
- Cut 4-1/2 x 1 inches
- Punch end into banner shape using Stampin' Up! Triple Banner Punch
- Distress using Tim Holtz Paper Distresser
- Affix on top of layer from step 3
- Wood grain pattern paper layer form ODBD Shabby Rose 6x6 Paper Pad
- Cut at 4-1/2 x 2 inches
- Punch end into banner shape using Stampin' Up! Triple Banner Punch
- Affix on top of layer from step 4
- Gingham pattern paper layer from ODBD Shabby Rose 6x6 Paper Pad
- Cut at 3-1/4 x 2-1/2 inches
- Distress using Tim Holtz Paper Distresser
- Affix on top of layer from step 5
- Frame is cut using whisper white cardstock, Big Shot, and ODBD Pierced Squares Dies
- Nest the third and forth dies (from smallest) and cut three layers
- Affix each layer to each other using Wendy Vecchi's Perfect Card Adhesive
- Rose in frame from ODBD Shabby Rose 6x6 Paper Pad and is cut using Big Shot and Pierce Squares Dies
- Cut using Big Shot and third dies (from smallest)
- Affix to the center of frame using mono adhesive
- Die cut the word Hugs using very vintage blue paper, Big Shot, and the die from ODBD Hugs Stamp/Die Duos and affix to the front of card using Stmapin' Up! mini dimensionals
- Cut and emboss the leaves using whisper white cardstock, Big Shot, and ODBD Bitty Blossoms dies and tuck behind the top-right and bottom-left corners of the gingham pattern paper layer
|
Please be sure to
contact me if you have any questions about today's project or any of the supplies I used.
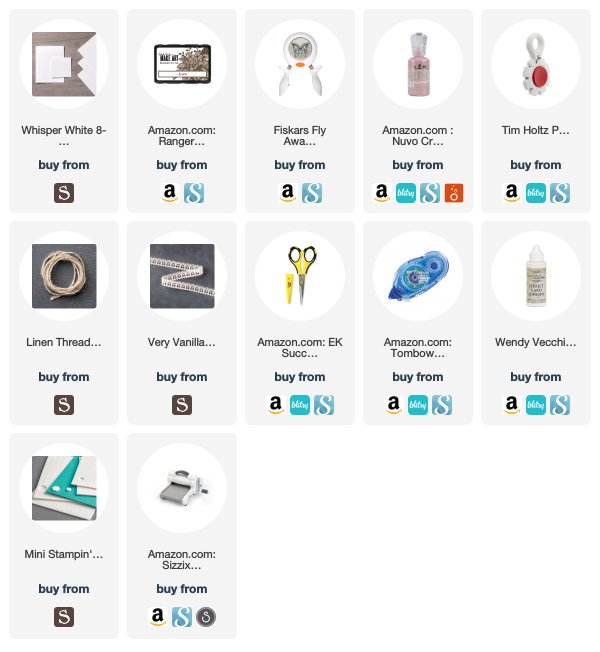
Project One Supply List
Our Daily Bread Designs Supplies
Other Supplies
 Project Two Supply List
Our Daily Bread Designs Supplies
Other Supplies
Project Two Supply List
Our Daily Bread Designs Supplies
Other Supplies


No comments:
Post a Comment