It's my second week designing for
Our Daily Bread Designs and I am excited to share a couple projects I created using product from the
ODBD July 2018 Release.
There is no video tutorial, however, I provide step-by-step instructions along with the complete supply list so that you can create these lovely cards at home.
And now... join me in my craft room and be inspired to transform paper into a little work of art.
|
Project One (Stay Strong in Your Faith)
|
Project One Instructions (scroll down for complete list of supplies)
- White card base is cut at 11 x 4-1/4 inches and scored at 5-1/2 inches
-
Soft blue layer is from the ODBD Romantic Roses 6x6 Paper Pad
- Cut at 5-1/4 x 4 inches
- Distressed using the Tim Holtz Paper Distresser
- Affixed to cardbase using mono Adhesive
-
Pattern paper layer is from the ODBD Romantic Roses 6x6 Paper Pad
- Cut at 4-3/4 x 3-3/4 inches
- Distressed using the Tim Holtz Paper Distresser
- Affixed to soft blue layer using mono Adhesive
- Cut 3-1/4 inches of 2-inch drywall self-adhesive tape and affix across the horizontal middle of Pattern Paper
- Cut and emboss Doily using the largest die using the ODBD Doily Dies and affixed over the drywall tape (slightly to the left) using mono Adhesive
-
Faux soft blue ribbon is from the ODBD Romantic Roses 6x6 Paper Pad
- Middle section of ribbon is cut at 1 x 3-3/4 inches and scored every 1/8 inch
- Top and bottom borders are cut and embossed using the large scalloped border from the ODBD Bitty Borders Dies
- The three pieces that form the faux ribbon are taped together using scotch tape on the back side
- Affix the faux ribbon across the horizontal middle of the card using mono Adhesive
-
The word Faith
- Cut three layers of the word Faith from white cardstock and the die from the Walk by Faith Stamp/Die Duos
- Emboss one layer of the word Faith using the dies from the Walk by Faith Stamp/Die Duos
- Stack the three layers using Wendy Vecchi Perfect Card Adhesive taking care to place the embossed layer on top
- Affix onto the faux soft blue ribbon using Wendy Vecchi Perfect Card adhesive (centered vertically and slightly to the right)
- Stamp the sentiment onto white cardstock using Hero Arts Shadow Ink in the Soft Granite, cut the words apart and affix to the front of the card close to the top-right
- Finish the card by creating three pearls in the top right corner using the Nuvo Crystal Drops in Duck Egg Blue
|
|
|
|
|
|
Project Two (Love & Hugs To You)
|
Project Two Instructions (scroll down for complete list of supplies)
- White card base is cut at 8-1/2 x 5-1/2 and scored at 4-1/4 inches
-
Pattern paper layer is from the ODBD Heart & Soul 6x6 Paper Pad
- Cut at 5-1/4 x 4 inches
- Distressed using the Tim Holtz Paper Distresser
- Affix to cardbase using mono Adhesive
- Cut and emboss Doily layers using white cardstock and the two largest dies from the ODBD Fancy Circles Dies and affix to the front of card using mono Adhesive
-
Banner is from the Heart & Soul 6x6 Paper
- Cut at 4 x 1-1/2 inches and
- Cut the ends into a banner shape using scissors
- Distressed using the Tim Holtz Paper Distresser
- Affixed on top of doily using mono Adhesive
- Tie a double-bow using white organza ribbon and affix onto banner (to the left) using a mini foam dot
-
The word Hugs
- Cut three layers of the word Hugs from white cardstock and the die from the Hugs Stamp/Die Duos
- Emboss one layer of the word Hugs using the dies from the Hugs Stamp/Die Duos
- Stack the three layers using Wendy Vecchi Perfect Card Adhesive taking care to place the embossed layer on top
- Affix to the right on the banner
- Stamp the sentiment onto white cardstock using Hero Arts Shadow Ink in the Soft Granite, cut the words apart and affix to the front of the card above and below the word hugs
- Finish the card by placing three pearls in the top right corner and one pearl in the center of the bow
|
|
|
|
Please be sure to
contact me if you have any questions about today's project or any of the supplies I used.
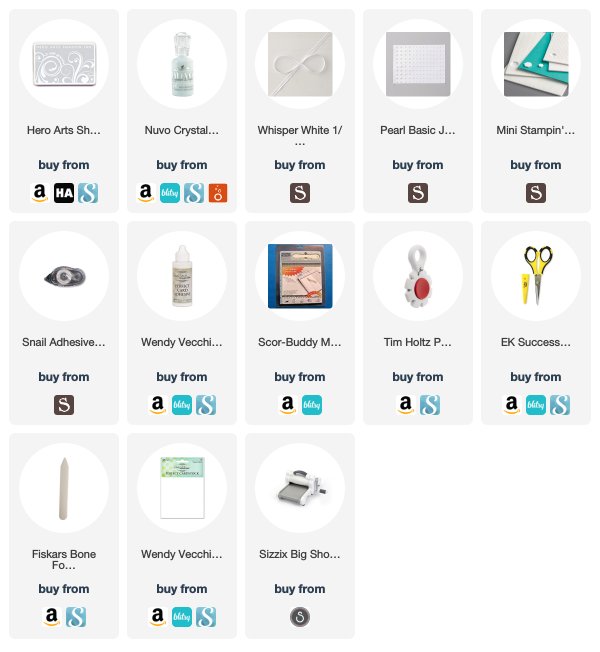
Project One Supply List (Stay Strong In Your Faith)
Our Daily Bread Designs Supplies
Project Two Supply List (Love & Hugs To You)
Our Daily Bread Designs Supplies
Other Supplies


No comments:
Post a Comment